
This section describes the basics of how to use Zip Repair Pro.
To repair a corrupt Zip file, do the following:
Select Repair Zip File from the Repair section of the main program window
Click the top Browse button to select the file to repair
Click the second Browse button to choose where to save the repaired file
Click Repair to begin the repair process
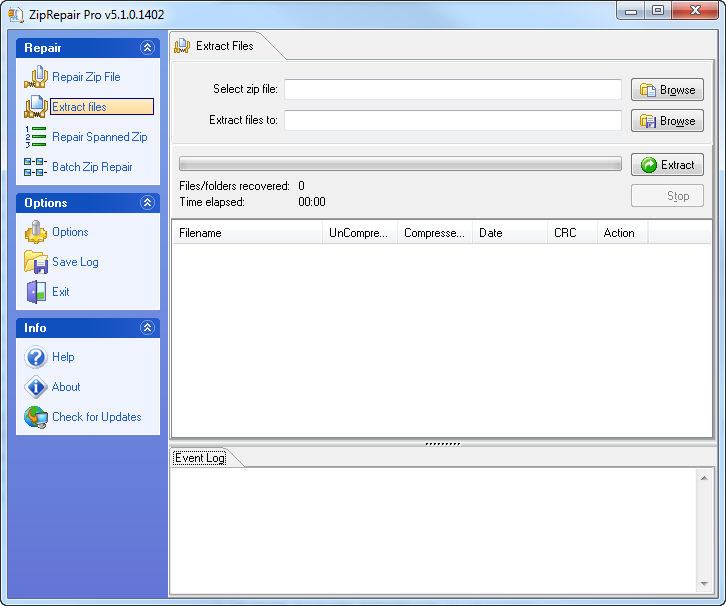
To extract files from a corrupt Zip file, do the following:
Select Extract files from the Repair section of the main program window
Click the top Browse button to select the file from which to extract
Click the second Browse button to choose the folder in which to extract the individual files
Click Extract to begin the repair process
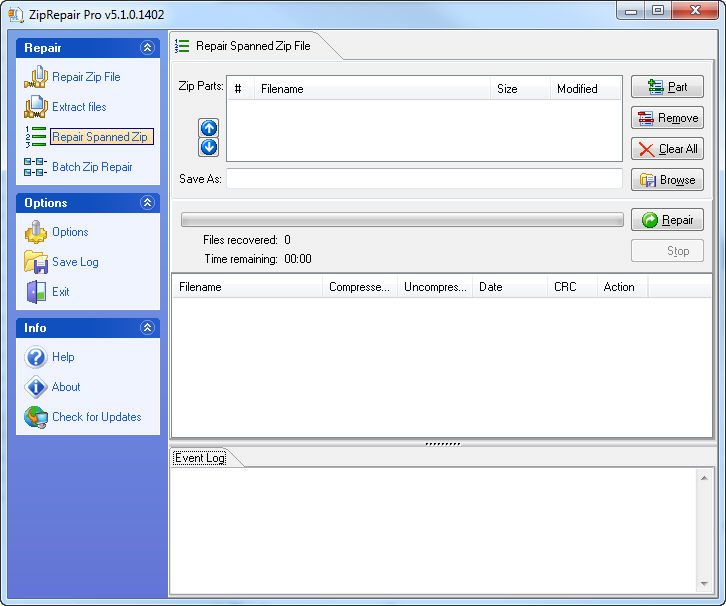
To repair a corrupt spanned Zip, do the following:
Select Repair Spanned Zip File from the Repair section of the main program window
Click the Add Part button to select the spanned Zip parts
Click the Browse button to choose where to save the repaired spanned Zip
Click Repair to begin the repair process
To repair multiple Zips, do the following:
Select Batch Zip Repair from the Repair section of the main program window
Click the Add File button to select the Zip files
Click Repair to begin the repair process
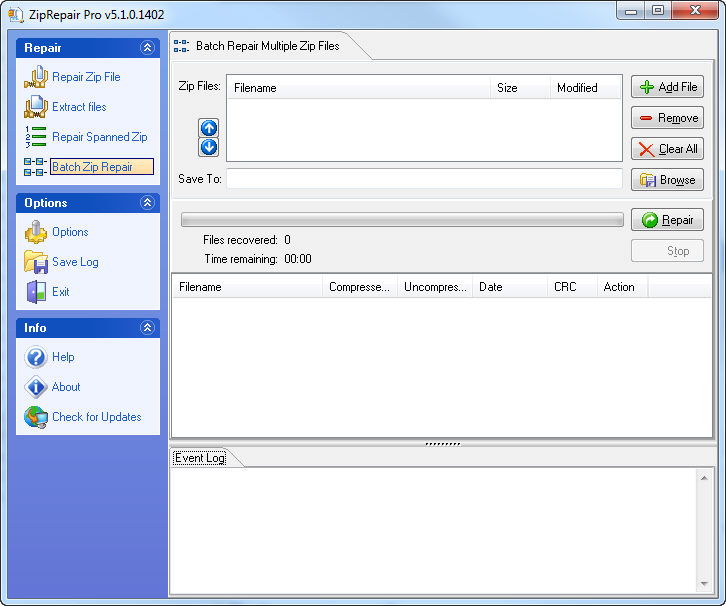
NOTE: When repairing multiple Zip files, the repaired files will be saved in the same location as the original files with a new file name e.g. myfile.zip will be saved as myfile-repaired.zip